Update Visit Planner
Follow these Steps to Create New Visit with Excel/CSV in UdyogX
Stepwise Guide
- Log into the software.
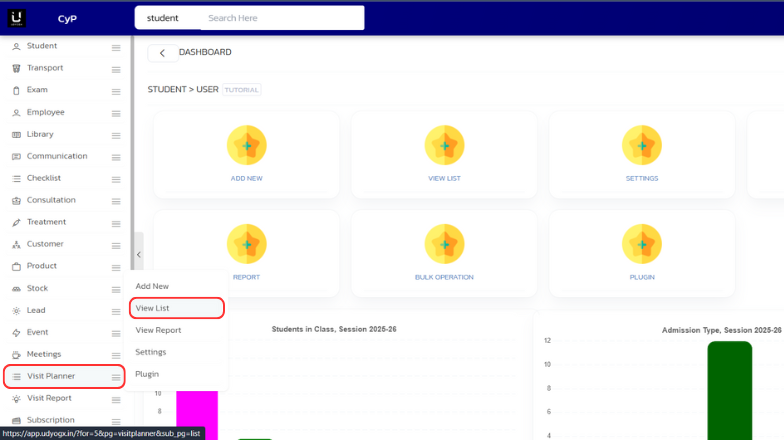
- On the left sidebar, hover over Visit Planner. A submenu will appear. Click on View List.
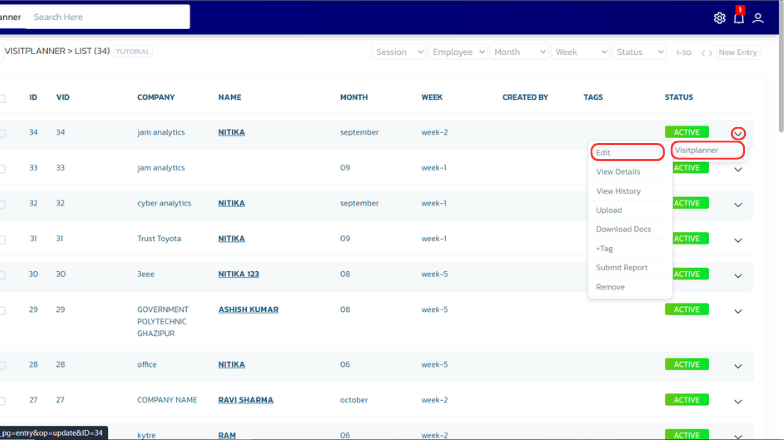
- A page with all the visit planners will be shown. On the desired entry, hover over the arrow on the right, then hover on Visit Planner, and click on Edit.
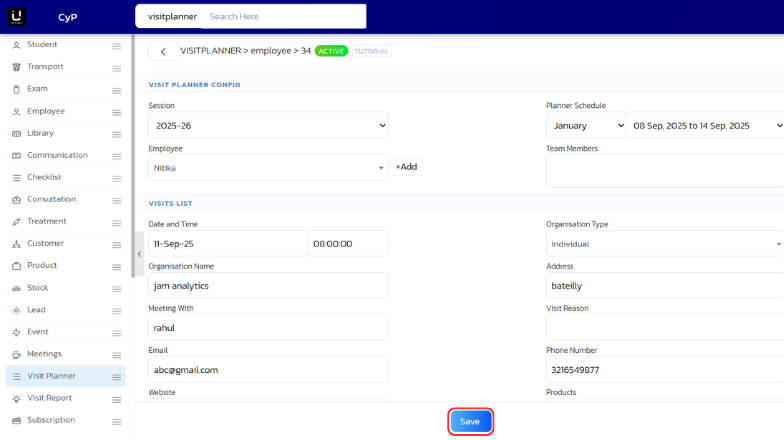
- A page will open. Make the required updates and hit Save.
Video Tutorial
Below is a video tutorial on how you can update visit planner.