Add Visit Planner
Follow these steps to Add New Visit Planner in UdyogX.
Stepwise Guide
-
Log into the software.
-
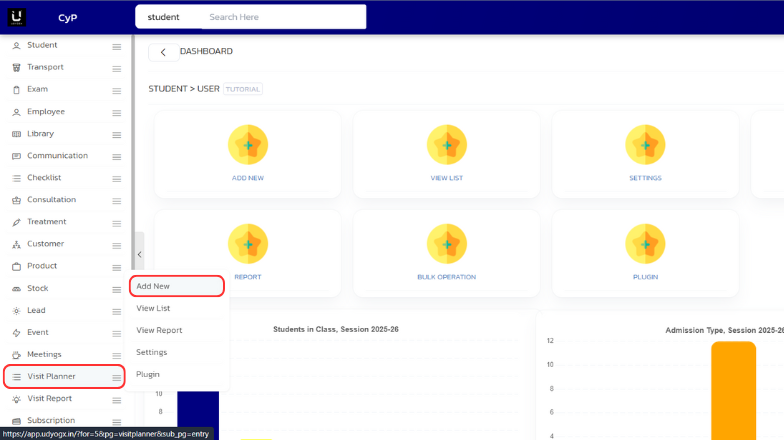
Hover on "Visit Planner" module visible on the left sidebar menu.
-
Click on "Add New" submenu that appears.
-
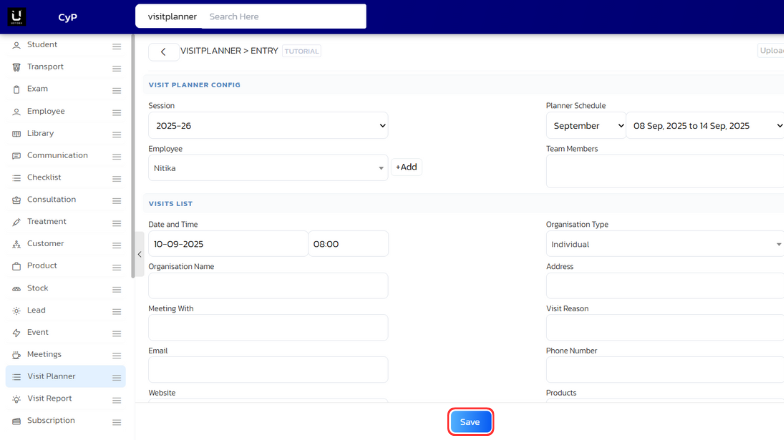
In the form that appears, fill the necessary details like “Session”, ”Planner Schedule”, “Employee”, “Team Member”, “Organization Name”, “Organization Type”, “State”, “Address”, “Meeting With”, “Visit Reason”, “Email”, “Phone Number”, “Website” , “Product”.
-
Click on ‘Save’ button at the bottom.
-
A confirmation box will appear when the details are saved successfully.
Video Tutorial
Below is a video tutorial on how you can add a new visit planner.