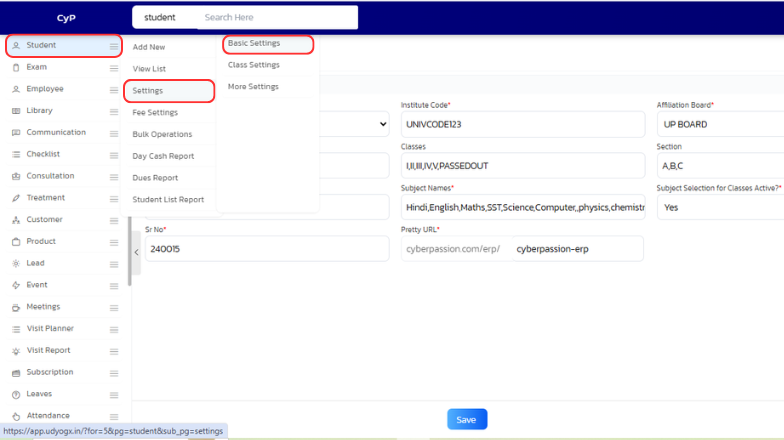
Settings
Stepwise Guide
Login to the Software
-
Go to "Settings" Under Student Module
-
Choose the Settings as per your Requirement
-
Click on"Save"
| S.No | Setting Name | Description |
|---|---|---|
| 1 | Institute Type | Select the type of institution in which the student management software is being used – school, college or coaching institute from the list. |
| 2 | Institute Code | Every institute has a code which is unique, it has to be typed and entered here. |
| 3 | Affiliation Board | Affiliation Board of the institute like for schools its CBSE, ICSE. For colleges its the name of university like BR Ambedkar etc. |
| 4 | Affiliation Code | Affiliation code of the institute given by the affiliation board. Its number should be entered here. |
| 5 | Class/Course Names | How many classes or courses are there in the institute, their entry will be done separated by comma. |
| 6 | Section/Year Names | Section names like A,B,C for school. Name of year in case of colleges like I,II,III. |
| 7 | Admission Types | Different categories of admission of students. Like you may add a category as 'Free' wherein you could put all students who are studying for fee. Or you can add type as 'Girls' and put all girls in that category. You can create different fee structure for different categories/type of student. |
| 8 | Subject Names | List of all subjects studied in the institute should be entered here separated by comma. |
| 9 | Subject Selection for Classes Active?* | The option to allocate subjects to students should be shown in the admission form or not. This is important in those classes where students choose their subjects. |
| 10 | Sr No Prefix | Before the student's serial number, we need to add a prefix, such as the school's name. For example, if the school's name is Saraswati Vidya Mandir, we can write SVM, so the serial number allotted to the student will be like SVM-1, SVM-2, and so on. |
| 11 | Pretty URL |